Many may be intrigued by the Wilcom Embroidery Studio, as it is an indispensable auxiliary tool for machine embroidery. And is one of the most widely used and highly rated embroidery plate-making software on the market. Let’s delve into a comprehensive understanding of Wilcom Embroidery Studio from the aspects of plate-making, basic software interface introduction, and the basic process of plate-making.
https://www.youtube.com/watch?v=ruJQJ7M1BJk
The Origin of Plate-making and its Relation to Punching
The origin of plate-making is the paper tape file, also known as punching. The format previously punched out was DST, and the files produced needed to be transferred via paper tape. During the transition period, disk transfer was commonly used, while now, USB drives are more commonly used.
When first produced, paper tape files stand void of any content. To infuse this blank tape with information, punching creates holes encompassing data about needle points and coordinates. Nowadays, this information finds its organization on a USB drive.
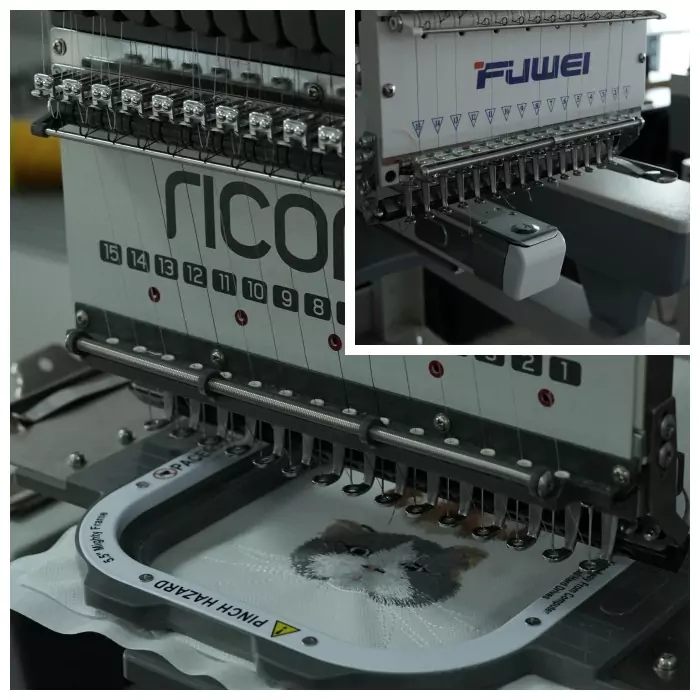
Introduction to the Software Interface
In Wilcom Embroidery Studio, the interface usually includes key elements such as the menu bar, function pop-up, stitch method, parameter setting panel, toolbar, color chart, and stitch display. The menu bar is located at the top, providing various functions. When the mouse hovers over a menu item, specific function options will pop up. Making it convenient for users to operate as needed.
1. The stitch method and parameter setting panel
They are usually located on the right property bar. Which can be opened by right-clicking on the pattern and selecting object properties. It is used to set the stitch method and parameters. Users can adjust the style and properties of the stitches as needed to achieve different effects.
2. The toolbar
It is usually located on the left, containing various tools for selection and use. you can choose input methods and perform operations, helping users complete design tasks.
3. The color chart
It serves to select the stitch colors, allowing users to enliven their designs with a palette of their choosing.
4. The needle trace display area
It shows the effect of the embroidery. The absence of stitches leaves a blank impression, while the presence of stitches gets distinctly displayed, offering users a direct view of their design outcome.
Through straightforward input operations, users can generate stitch patterns on the screen, illustrating selected styles and properties to materialize custom embroidery designs. The amalgamation of these interface elements and functionalities offers users an efficient and streamlined embroidery design experience.
Basic Process of Embroidery Plate-making
The embroidery plate-making process deems order-taking as an essential step. During order-taking, attention to a few key points ensures the seamless progression of subsequent production steps.
1. Color Allocation
Upon receiving an order, the first inquiry should address the number of colors needed and their distribution. While some designs might explicitly mark the colors, others might require verbal confirmation. Accurate color allocation forms the cornerstone of achieving precise embroidery effects.
2. Fabric
Gaining an understanding of the customer’s chosen fabric type remains crucial. Confirming its similarity to the original fabric or noting any alterations is necessary. The fabric’s thickness and firmness directly bear upon the embroidery’s density and line requirements, calling for careful selection and consideration before initiating production with Wilcom Embroidery Studio.
3. Size Requirements
Another significant aspect lies in confirming the dimensions of the embroidery output. Clarity is needed on whether the customer insists on maintaining the original size or requires proportional scaling, such as reducing to 80% of the original size. Ensuring precise sizing is pivotal in guaranteeing that the embroidery effect aligns with the customer’s expectations.
By carefully asking and understanding the customer’s requirements and key details, it can ensure that the subsequent plate-making process can accurately meet the customer’s needs. Thereby achieving the best embroidery effect and customer satisfaction. Good order taking is an indispensable part of the entire embroidery plate-making process. Providing a solid foundation for the smooth production of high-quality embroidery.
Presumably, everyone has a very basic understanding and learning of Wilcom Embroidery Studio. If you want to learn more about embroidery machines, Wilcom-related knowledge and usage skills, you can follow and visit our website. You can also directly participate in the discussion in the comment section.


